Quick blog post today that I’m writing during work on how to pass an array of arguments in JavaScript. This is something that I actually need to do today and well… I didn’t know how to do it 5 minutes ago! So without further ado… here’s how:
You can use JavaScript’s built-in Function.prototype.apply() method to pass an array of arguments. If you need to do this, check out this example–
This file contains bidirectional Unicode text that may be interpreted or compiled differently than what appears below. To review, open the file in an editor that reveals hidden Unicode characters.
Learn more about bidirectional Unicode characters
My friend Sameer and I are currently working on our first Web3 project together, and we’re trying to learn how to use Solana. So far it’s been kind of complicated and a bit of a pain, so I just wanted to jot down a few notes here in this blog post for future reference. Mainly, I want to record my notes on getting to “hello, world” in Solana using Rust & Web3.js.
So far I haven’t found a great tutorial yet, however, there’s an okay course called recommended by the Solana team called Solana 101 that my friend and I both just took, and I think it has most of the basic building blocks you’ll need to get started with Solana programming.
If you’d like to take the Solana 101 course yourself, you can do that here: Solana 101
I believe the course used to be something you could take on Figment’s website, but now it’s simply a Github repo that you download. After you download the repo you an follow the instructions in the README to launch the course in your web browser running off of a local web server running on your machine.
Now for the real meat of what I wanted to post here… The course above has like 12 different lessons all featuring a code snippet demonstrating how to do some basic operation in Solana. However, the course isn’t hosted on the internet anymore! If you want to reference it or take it again, you have to spin your local web server up again to read the code snippets. So I decided that I really wanted to have a copy of all the code snippets up on the web that I could reference when needed. So without further ado, the 12 essential code snippets from Figment’s Solana 101 Course:
Solana 101: Connect to Solana (From Figment.io’s Solana 101 Course)
This file contains bidirectional Unicode text that may be interpreted or compiled differently than what appears below. To review, open the file in an editor that reveals hidden Unicode characters.
Learn more about bidirectional Unicode characters
This file contains bidirectional Unicode text that may be interpreted or compiled differently than what appears below. To review, open the file in an editor that reveals hidden Unicode characters.
Learn more about bidirectional Unicode characters
Solana 101: Funding Your Solana Account via Airdrop (From Figment.io’s Solana 101 Course)
This file contains bidirectional Unicode text that may be interpreted or compiled differently than what appears below. To review, open the file in an editor that reveals hidden Unicode characters.
Learn more about bidirectional Unicode characters
Solana 101: Getting Your Balance (From Figment.io’s Solana 101 Course)
This file contains bidirectional Unicode text that may be interpreted or compiled differently than what appears below. To review, open the file in an editor that reveals hidden Unicode characters.
Learn more about bidirectional Unicode characters
This file contains bidirectional Unicode text that may be interpreted or compiled differently than what appears below. To review, open the file in an editor that reveals hidden Unicode characters.
Learn more about bidirectional Unicode characters
Solana 101: Deploy Rust Program to Solana Blockchain (from Figment.io’s Solana 101 Course)
This file contains bidirectional Unicode text that may be interpreted or compiled differently than what appears below. To review, open the file in an editor that reveals hidden Unicode characters.
Learn more about bidirectional Unicode characters
Solana 101: Check Deployed Solana Program from Client (From Figment.io’s Solana 101 Course)
This file contains bidirectional Unicode text that may be interpreted or compiled differently than what appears below. To review, open the file in an editor that reveals hidden Unicode characters.
Learn more about bidirectional Unicode characters
Solana 101: Storing Data on the Solana Blockchain (From Figment.io’s Solana 101 Course)
This file contains bidirectional Unicode text that may be interpreted or compiled differently than what appears below. To review, open the file in an editor that reveals hidden Unicode characters.
Learn more about bidirectional Unicode characters
Solana 101: Get Data from Solana Blockchain (From Figment.io’s Solana 101 Course)
This file contains bidirectional Unicode text that may be interpreted or compiled differently than what appears below. To review, open the file in an editor that reveals hidden Unicode characters.
Learn more about bidirectional Unicode characters
Solana 101: Set Data on Solana Blockchain (From Figment.io’s Solana 101 Course)
This file contains bidirectional Unicode text that may be interpreted or compiled differently than what appears below. To review, open the file in an editor that reveals hidden Unicode characters.
Learn more about bidirectional Unicode characters
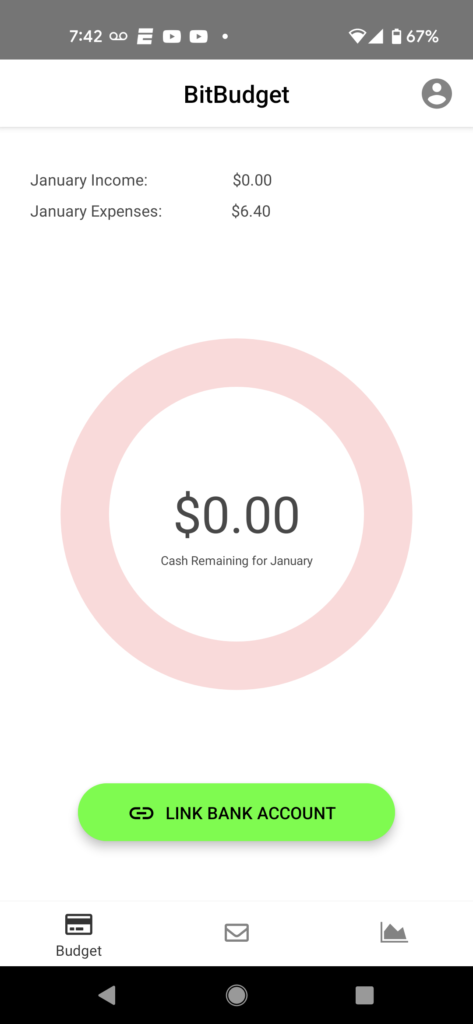
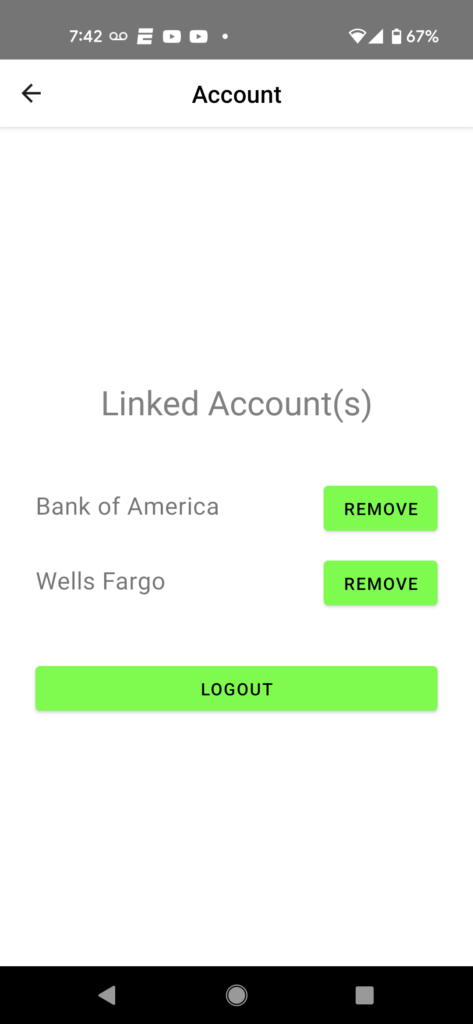
Having issues with your bank account connection to the CacheMoney? To reset your connection simply click the profile button icon in the top right hand corner of our mobile application, then from the settings screen click the REMOVE button next to your bank account connection. To reconnect press the LINK BANK ACCOUNT button on the home screen of the CacheMoney Android app.
Having trouble with your CacheMoney account? You’ve come to the right place! My name is Chris Pedersen, co-founder and developer of CacheMoney Spending Tracker. If you’re having any issues with CacheMoney or our Plaid/OAuth integrations with your bank account please feel free to contact me personally for support.
How long does it take to make money? Ha! It take decades. It’s going to take longer than you would like, but the best time to start was yesterday; the second best time is now. So you may as well start if it’s something you’re thinking about, it’s fine to start working on it now. It may take awhile for it to pay out, but when it does start paying out, you will essentially have.. It’s not that you will make money, but you will have become the kind of person who makes money. And once you’re the kind of person that makes money, and you have some comfort around that, then you essentially have your freedom. So you’re basically going to learn the skills of how to make money. You are going to become a money making machine. And once you’re a money making machine, the goal is that in 10 to 20 years from now, you will get hit with a tsunami of money.
Alright, so you’re trying to vertically align an h1 tag in a div, and CSS is giving you a hard time? Fret not! I’ve got a quick code React.js snippet here with the CSS you need to center your h1 tag in your div:
This file contains bidirectional Unicode text that may be interpreted or compiled differently than what appears below. To review, open the file in an editor that reveals hidden Unicode characters.
Learn more about bidirectional Unicode characters
Welcome to my really quick tutorial on how to make a div fill the entire page using CSS & React.js. A lot of things seem really simple in CSS, but in reality you end up having to add tons of little extra tweaks to your code to get CSS to render what you would expect. For example, to make a <div> fill the entire page you would expect setting height and width to 100% to do the trick but… it doesn’t! Or maybe setting the height to 100vh and width to 100vw should do the trick right? Nope!
Well here’s the answer you’re looking for, you need to set the <div>’s position to absolute, top to 0, bottom to 0, then set the height and width to 100%. And then for good measure, maybe set the margin and padding to 0 as well?
Anyway, without further ado, How to Make a Div Fill the Entire Page in CSS & React.js:
This file contains bidirectional Unicode text that may be interpreted or compiled differently than what appears below. To review, open the file in an editor that reveals hidden Unicode characters.
Learn more about bidirectional Unicode characters
If you happened to have stumble upon this blog post in its current form, I apologize. I’m currently working on adding download functionality to a WebView at work so user’s can download a PDF from my company’s app if the WebView url redirects to a PDF. To figure out how to do this, I’m currently creating an example React-Native app which I will post the source code to for this blog-post/tutorial. However, for this example app I am using my personal blog, and this blog post in particular, to include a link to a PDF.
Long story short… My Example app will feature a WebView pointed at this blog post URL. And this blog post will feature a LINK TO A PDF which the user can click on. The goal will be to intercept the PDF URL and download it if the WebView’s URL changes to a new URL featuring a PDF file instead of HTML.
Today at work I have some JSON data which I need to parse with JSON.parse, and need to make sure that my code doesn’t crash my company’s app if for some reason our API doesn’t serve back what I’m expecting. Most of the company’s code which deals with fetching data from our API has already been written, but for this assignment I’m having to make my own networking request and handle all of this stuff myself.
So that’s what brings me here now writing this blog post! I think I have a fairly nice fail-safe way of dealing with JSON, JSON.parse, and unknown values/properties that I prototyped this afternoon on repl.it. Take a look at my code snippet below if you need a similar solution. Happy hacking!
This file contains bidirectional Unicode text that may be interpreted or compiled differently than what appears below. To review, open the file in an editor that reveals hidden Unicode characters.
Learn more about bidirectional Unicode characters
This isn’t going to be much of a blog post, but I just wanted to bookmark this helpful StackOverflow post on how to setup a WordPress blog which is hosted under a route, /blog, on my Flask site: Proxying to another webservice with Flask
The easy way to host a WordPress blog on a website powered by Flask, Node/Express, Ruby on Rails, etc etc is to simply host the WordPress blog on a subdomain such as blog.mysite.com. However, Google treats subdomains as separate websites! So this kind of defeats the purpose of adding a blog to your site to try and boost it’s SEO rankings. So…
I’m going to try following some of the ideas proposed on the link above and see if I can get this to work on my Flask site.
I’ve been running into a lot of strange SEO problem recently. Another issue is ReactJS and SEO. I’d really like to use React on my site, but I don’t think I can without hurting SEO. (I think React does offer a server side rendering option for this, but you have to use NodeJS instead of Flask). Anyway I’m getting kind of sleepy and rambling now. Goodnight.